Showing posts with label VEGETABLE ART. Show all posts

Saturday, September 26, 2009

Flower Hand Chercief


Matirial :
Capcicum
Ladies finger
Fabric paint
Hand cher cief

Method :
Cut a capcicum into two pieces and apply fabric paint & punch on cherciefyou see the print shape was flower & cut ladies finger into two pieces & punch on the corner of thechercief & see the shape was small flower. Flower chercief was ready

Friday, September 25, 2009

Vegetable Print


Vegetable Print

Materials:
  • Capsicum
  • Ladies Finger
  • Fabric Paint
  • Brush
  • Knife
  • Cloth
Vegetable printing  is a simple art that even small children can try out.  You  need only some vegetables, a piece of cloth and fabric paints to make the print.  Vegetables can be cut lengthwise or breadth wise to make beautiful patterns of flowers, leaves, etc. according to your ideas. Here is an example for you.
 Take one capsicum and cut it into two pieces. Apply fabric paint of your choice carefully on the brim of the capsicum piece. Take care not to smudge.  Punch the painted capsicum on the cloth to make petals of a flower.  Cut the ladies finger lengthwise to make leaves and breadth wise to make small flower designs. Punch with the small flower design in the center of the flowers. If you want to  make the design more attractive you can punch the small flower designs in the corners of the cloth. Choose contrast colour paints for effect.
Click on the pictures for an enlarged version
third.jpg (47799 bytes)
first.jpg (50764 bytes)
four.jpg (56230 bytes)
Materials
Cut the Capsicum into two pieces
Applying fabric Paint on the brim
five.jpg (58176 bytes)
six.jpg (61007 bytes)
nine.jpg (57365 bytes)
Punch the painted capsicum on the cloth
Cut the ladies finger lengthwise and apply green fabric paint on it.
Punch the painted ladies finger to make leaves
eight.jpg (53814 bytes)
seven.jpg (60759 bytes)
new.jpg (42349 bytes)
Cut the ladies finger as shown in the fig and apply paint and punch at the center of the flower.
Punch the corners
Final Product

Saturday, September 19, 2009

Apple Dolls


This delightful craft project was kindly contributed by Erin Ennis. Please contact Erin with any questions you may have regarding this project.
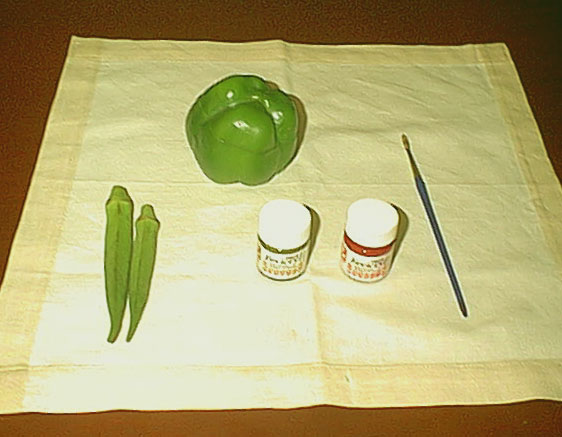
What you need: 1: an apple 2: knife 3: lemon juice 4: Styrofoam cup 5: raisins, dried cranberries or garlic cloves.
What to do:
First carefully skin the apple with the knife. leave the stem on and cut a small hole at the bottom for the pencil.
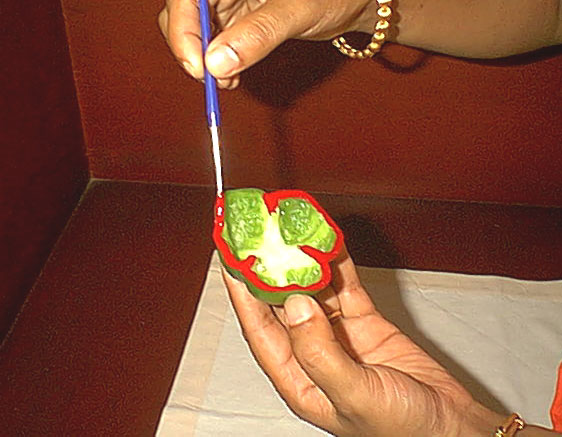
Cut out holes for the eyes, mouth and nose. Also cut out holes for the ears and jagged lines for wrinkle.
After this stick either the cranberries, raisins or bits of clove, and insert them in the eyes. Soak the whole apple in the lemon juice to prevent it from getting soggy and gross. Dry it off and then place it on the pencil, and then in the cup , as to make sure it dries without touching anything or else it will spoil.
Leave it in a window or sunny area of your house, to let it wrinkle. This will take a couple of weeks but it fun to watch wrinkle and turn into an old lady or witch. 
After you are satisfied with your creation, add a small witch hat on top of its head, black cloth for a cloak around the cup, and maybe you could even make a twine broom for your ghoulish witch!!!    Remember to have fun!!!
u get many more from here...

Saturday, September 12, 2009

Vegetable Art

This Pix's i got from MHO Group Mails.

Friday, September 11, 2009

Vegetable Art


This Pix's i got from MHO Group Mails.