- Wool (Different shades)
- Frame
- Big Needle
- Ordinary material of any shade
- Wool brush
Frames can be round, hexagon or square. You can make beautiful mats by weaving the wool on the square and hexagon frames. With the round frame you can make flower patterns and join them to make a shawl or table cloth according to your choice.
Procedure for round shaped frame :
Click on the pictures to see an enlarged and clear version.
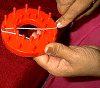 Hold the frame and the end of the wool below with your hand as shown in the figure on the right. Take one strand of the wool up from below through the inside opening of the frame.
-
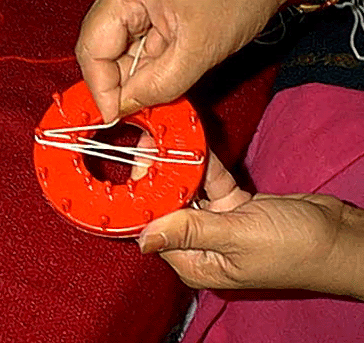
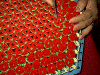
 Wind it through the opposite nails of the outer circle in the shape of number eight (8) thrice.
 - After finishing the three winds, take the wool to the next opposite pair of nails in the outer circle. Repeat the process till all the nails in the outer circle are completed. The end of the wool should be brought down and tied.
- Take a contrast colour wool and follow the same procedure to weave the inner circle.
- Tie all the ends of wool below, together .
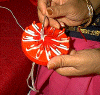
- Insert a strand of wool through the needle. Pass the needle alternatively through the gap between the windings bring it back through the middle gap of the two windings. Repeat the stitch till all the windings are fastened. Put a knot in the end. This fastens the flower pattern in place.
- Carefully remove the windings from the frame. Now one flower is ready. You can make more flowers and join them to make a table cloth or shawl according to your choice.


Procedure for Hexagon / Square shaped Frame:
Click on the pictures to see an enlarged and clear version.
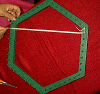
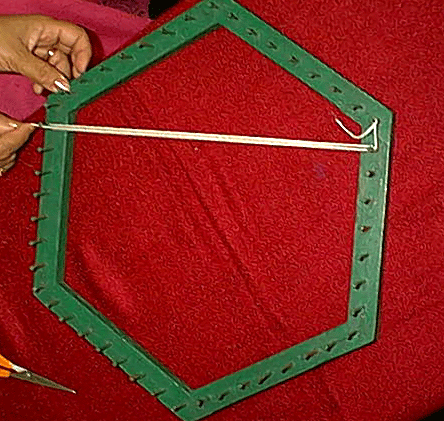
- For a hexagon shaped frame, the number of nails should be odd numbers. Here the frame used has 9 nails on all sides.
- Take the wool, put one knot at a corner with the
 wool and immediately take it to the second nail as in figure.
 - Then wind the wool thrice through the opposite nails tightly (the windings can be three or six or more according to your choice). After finishing the three winds, continue with the next opposite nails. Repeat this process until the whole frame is completed.
- Take any contrast shade wool and repeat the above procedure once more.
- Take another shade and repeat the same. Altogether at least three shades of wool should be wound on the frame.
- Insert a thread in a needle to tighten all joints, of windings of the three shades of wool. Tighten all the joints continuously without putting knots after each joint. After tying, you will get a star shape in each joints as shown in figure.
- Without cutting the base colour (first shade winding), cut all the other layers around the joints. After cutting you will get a shape of a flower.
- Take the wool brush and brush the flowers with it to make the mat bushy.
- Remove the mat carefully from the frame by cutting the base shade wool, along the nails around the frame.
- You can fix the mat on any ordinary shade of material.


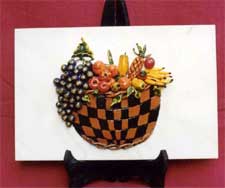
My Patterns


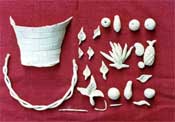
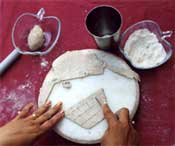 basket take a portion of dough and flatten it and cut it out in the shape shown in the picture, place it over a glass as shown in the picture. Few horizontal lines and in between few vertical lines are pressed over the dough to get the exterior of the basket. Two small strings should be made with the dough and it should be twisted or plaited neatly and pasted to the top and bottom of the basket.
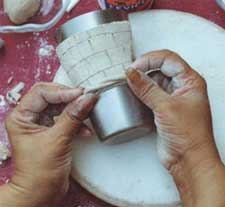
 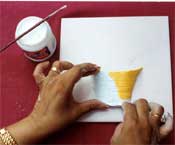 three sides of your basket on the tile. The top portion should be kept open. Fill the basket with clay dough to the brim.
 Keep this

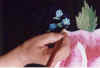 Using glue stick the felt on the hard board. Trace down the design on the felt. Now you are ready to paint the design. Two things should be always taken care while doing nib painting. One, you should always start painting from top so as to move your hand freely towards down part. Secondly, you should move your hand evenly while doing your painting. This gives the painting a real look.
 Eyes, Nose
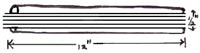
 Now using the wool ball wind it over the 4 strands and rod
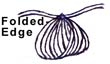 5. After completing the required windings, slide off the wool. Now using the 4 strands tie a knot which brings the two ends of the windings together.
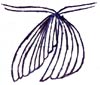
 6. Now cut off the folded edges neatly. After this, roll the piece between your palms and make it into a small ball. Similarly make the rest of the balls.
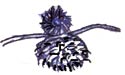
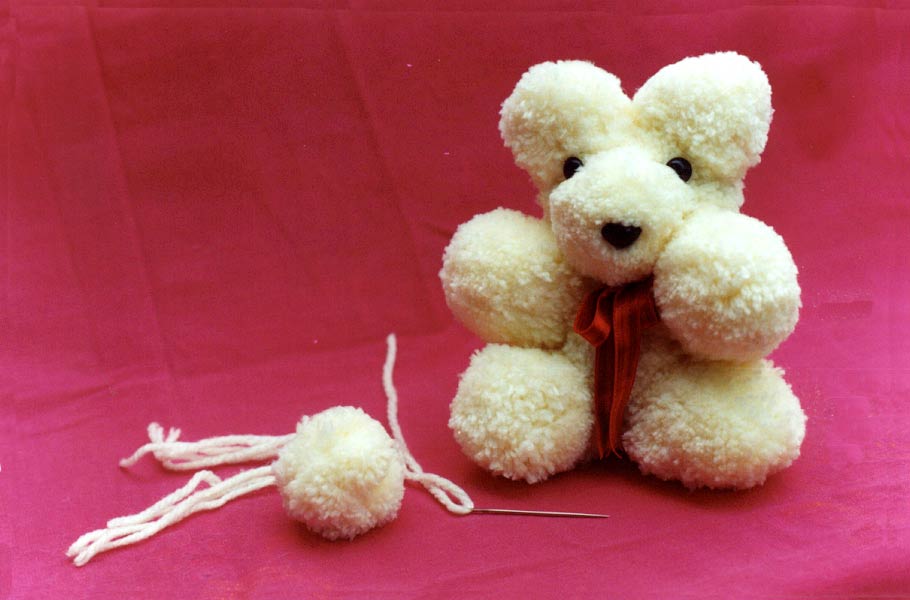


 The
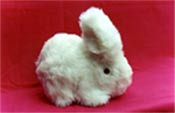
The 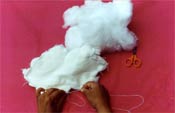 The unstitched part of the body is fixed on to the base. Thus you get a sitting rabbit.

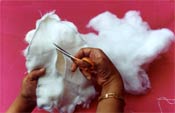 Using this cut, reverse it, (pull the right side out) to get the right side outside. Now fill in the fibre cotton and close the slit.
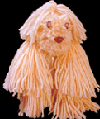
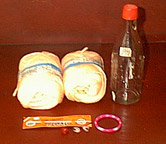
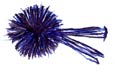
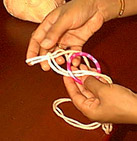 wool say four times the length of the bottle. Fold the thread two fold and tie knots around the plastic bangle at intervals say around nine knots. Now you have nine pairs of wool thread hanging from the bangle. Take one thread from a pair and another from the adjacent pair and tie them together. Repeat all around the bangle and now we have nine
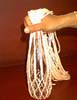 triangles with nine pairs of wool thread hanging from it. Then again tie one thread from a pair together with another thread from the adjacent pair and so on all around to get nine diamond shapes. Repeat the process till it reaches almost the length of the bottle. Insert the bottle into the thread cover with the bangle at the bottom. Tie together all the hanging threads at the top of the bottle tightly.
 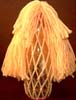 make the legs,
 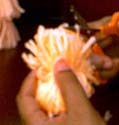 make the face, make two balls; one slightly bigger than the other. Wind 6'inch length thread around the hands for a number of times, slip off the windings from the hand, tie with a thread in the middle and cut off the folded ends. Let this be the bigger ball, then make a smaller one in the same way. Tie the balls together. Stick the eyes with glue on either sides of the bigger ball and the mouth in the middle of the small ball. Tie the face at the top of the bottle just below the hair. Now your cute sauce bottle dog is ready.